Pages

Showing posts with label photographs. Show all posts

Wednesday, November 19, 2014

How to find backgrounds that make your images look spectacular!


How to find backgrounds that help your images look spectacular!


Finding excellent back-grounds that complement the subject is an essential part of the process of developing beautiful portraits There are a lot of things to carefully consider in your hunt for the best background.

Do you want your background to be well-defined or possibly blurred?

This is an essential question mainly because the choice determines your entire approach to the portrait shoot.

Should you want the background to stay focus, then this suggests that the background is more or less in some way relevant to your subject. Take for instance, if you are making a portrait of a successful musician, then perhaps it would be nice to take a photograph in a location where they continually perform, along with the environment to clearly show the environment.

However, if your goal is simply to obtain a pretty portrait of any individual, then the background might not be so relevant, having said that it must be complementary. A nice example of this is taking a portrait of somebody on a shoreline, where the natural environment becomes a mainstay of the composition.
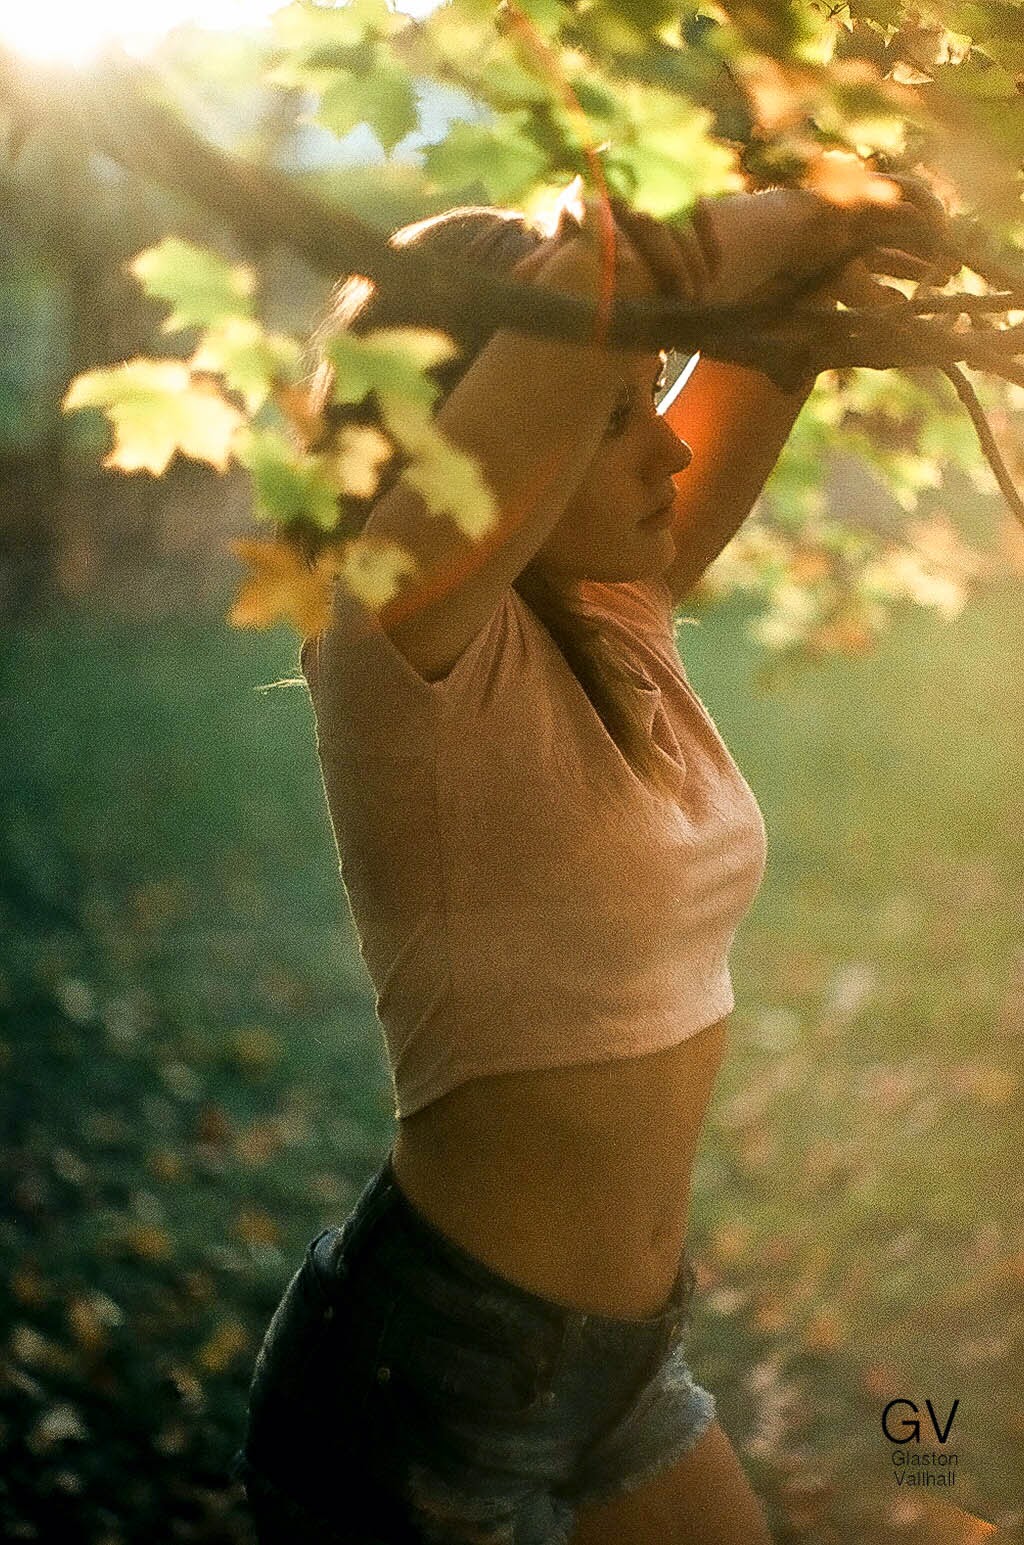
The simplest way to grab a portrait with the background in focus is by utilizing a wide-angle lens with a smallish aperture (f/8 is ideal for this). You should be careful not to get too close to the individual (avoiding distortion) in order to include lots of background.
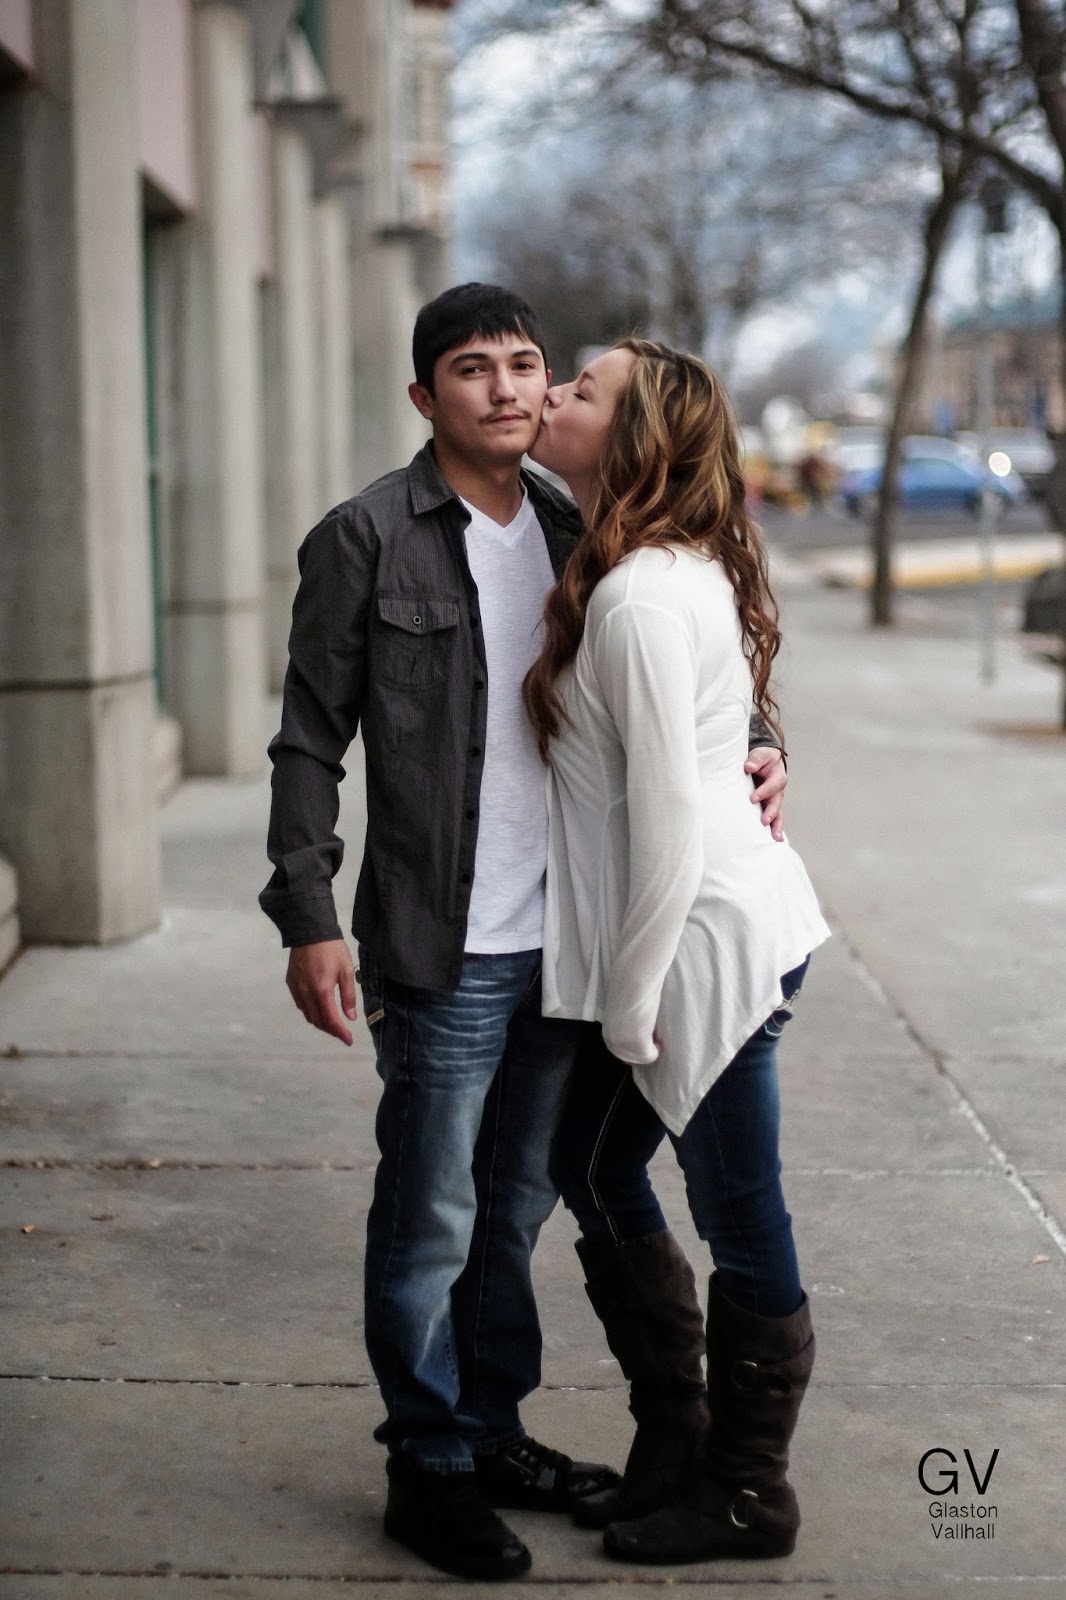


If you want to take photographs with a completely blurred background, then the background itself isn’t extremely important. It will be out of focus, so no one should be able to describe whatever it is. The important thing is that you need to be able to position your model a ways from the background. Then all you have to use is to use a short telephoto lens with a wide aperture, and if the model is far enough from the background it will go out of focus.

This method is most effective with prime lenses because of their wider maximum apertures. But you can certainly still ensure it is do the job, even with an 18-55mm kit lens (which often have maximum aperture settings of f3.5 to /56). You’ll simply need to move the model farther away from the background, and get as close to her as possible (attempt taking a simple head and shoulders shot) to make it work.

Don’t forget there’s a middle ground between these two extremes. You may want to make the background somewhat out of focus, so it is still recognizable although not so sharp it competes with the model for attention.


Are you going to take your photos indoors or outside?

The answer to this query is important since it leads to the question of how you are going to light the photograph.

For instance, inside places can be great for shoots that take place in the winter time, or even at night, if you can’t rely on the weather to be good enough to take photos outdoors. You can utilize your home as a location, another idea would be to keep an eye out for interesting indoor locations in your local area that you may be able to use. Examples are cafes, bars and also hotels. As soon as you’ve found a photogenic location, it’s a quick matter of determining the right person to request authorization to use that location for a shoot.

As soon as you’ve found the location, you should decide how to light the portrait. You might be okay with natural light, particularly if there are actually huge windows or your digital camera works well at higher ISOs. You’ll possibly want an assistant with a reflector to assist.

If you decide to make use of flash to light your portrait, things may be a little more complex. You’ll need room for lighting stands, so you may have to run electrical power cords across the ground. If you intend to use flash, make sure you mention this when you ask authorization to use the location.

If you are gonna have your photos outside then the issue of lighting still applies. Do you intend to use natural light? Once again, an assistant with a reflector may be valuable. If you intend to use are shown to supplement or even overpower the sunlight, you then need to consider if you have sufficient space in your selected area to set them up? Are you going to need someone to help you? Thinking through the practicalities will help your shoot run smoothly.

Background suggestions?

Lastly, here are some of my favorite places for taking portraits. You will find these recommendations useful in your search fantastic backgrounds.

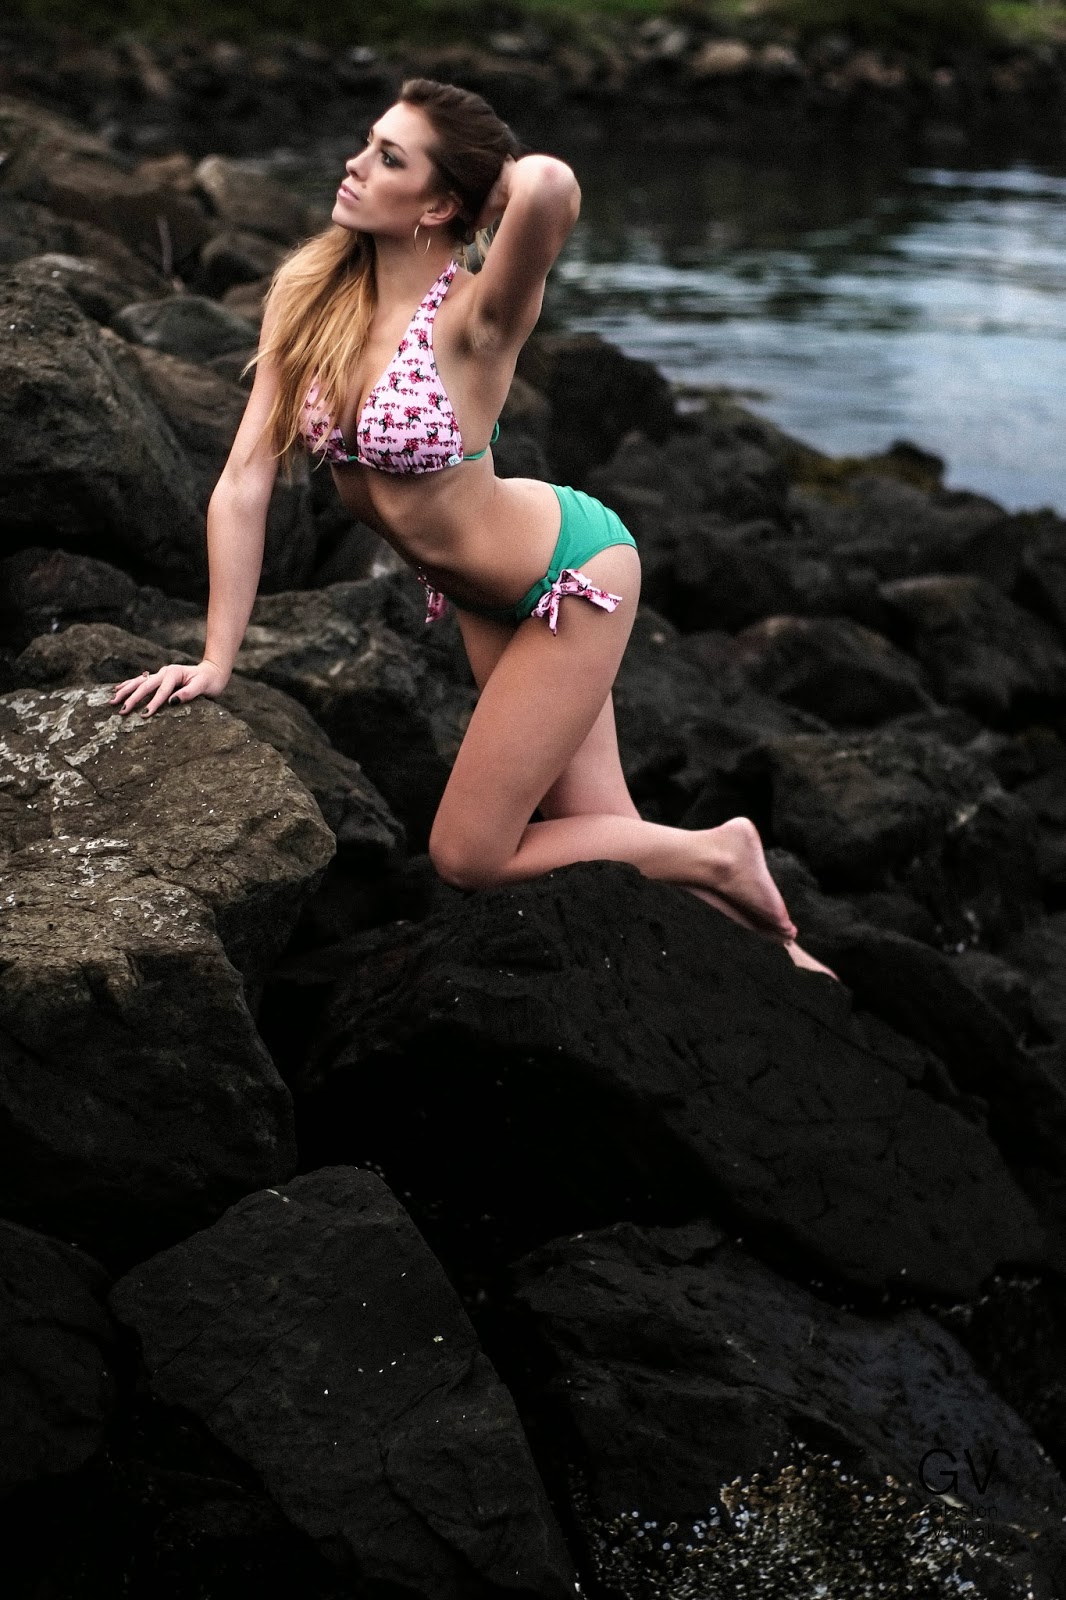
Beaches: I particularly like rocky beaches since rocks render terrific histories. The key to obtaining the best from a beach site is always to take the portraits close to the sunset and also use the beautiful quality of light during the golden hour.

Gardens as well as parks: Public gardens will be an excellent place to take portraits. These are normally quite beautiful and may contain a variety of plants as well as trees and shrubs which you can’t find somewhere else in your area.
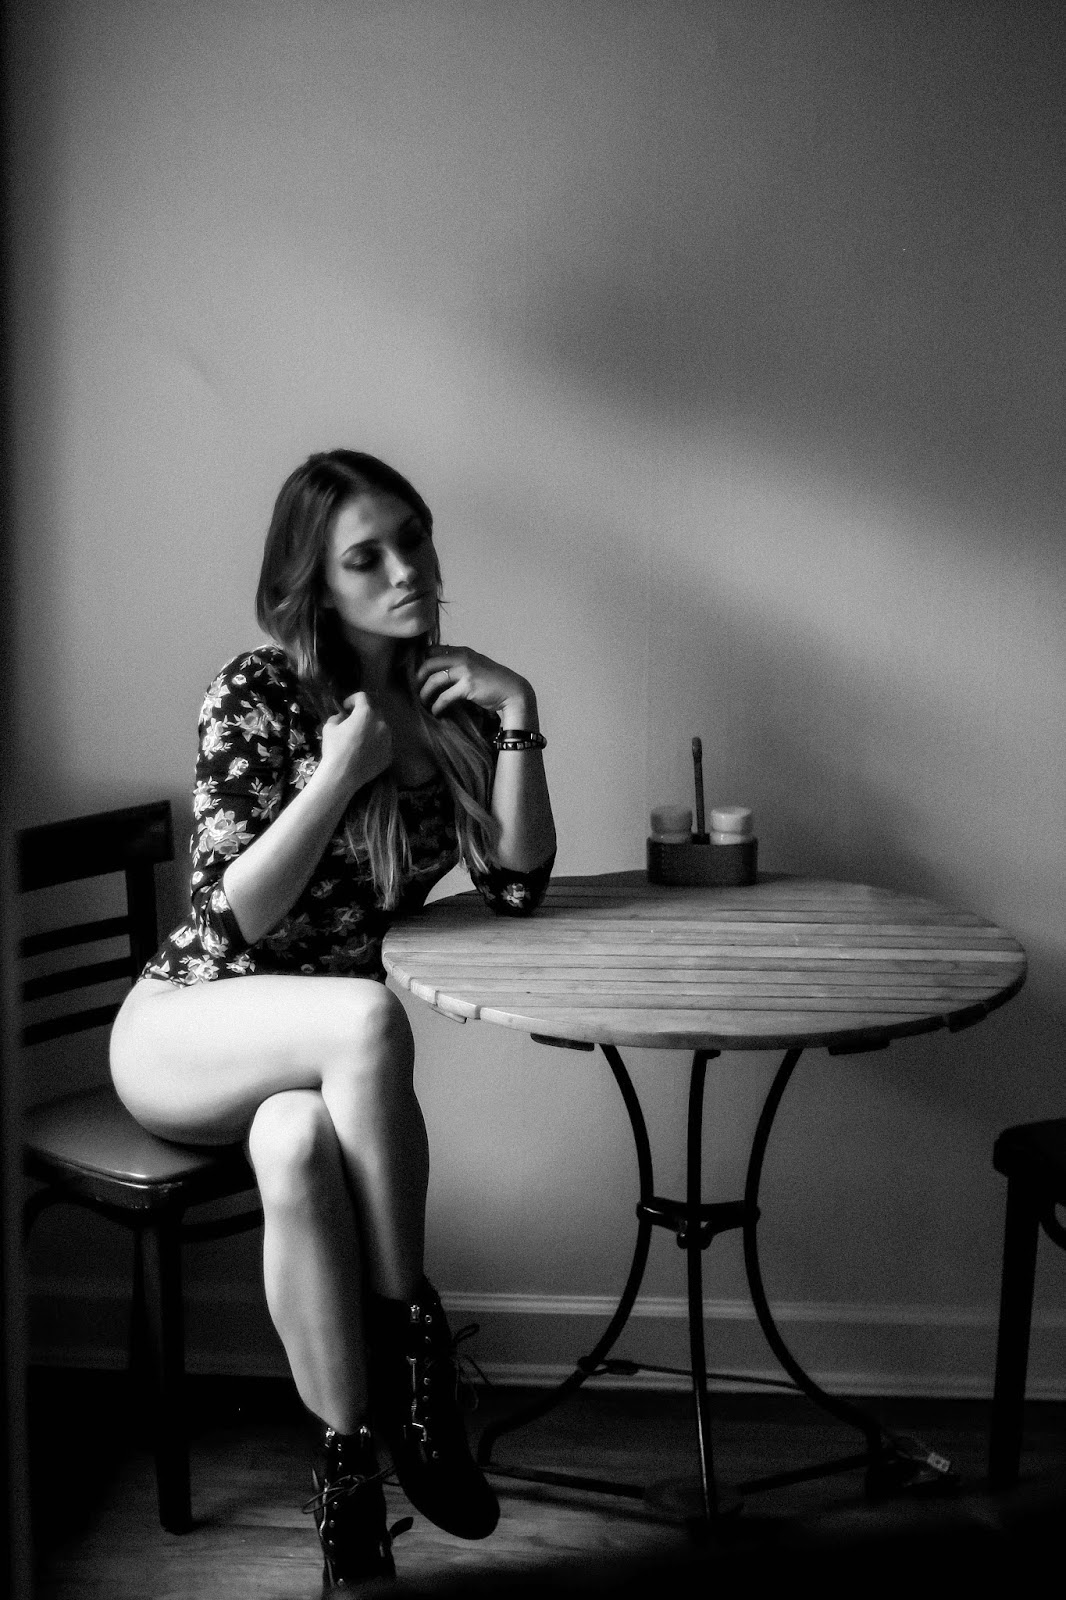
City or urban areas: I love to wander around unique parts of the town I live in with my model looking for good backgrounds. It’s amazing how many situations a wall structure or doorway could make a simple yet effective background for a portrait.


Woodlands: These can be tricky as the light has a tendency to come from above, between the trees, almost like a spotlight. The outcome is harsh shadows under your model’s eyes and nose, even on a gloomy day of the week. The solution is to apply a reflector or even flash to fill in the shadows. While the lighting isn’t always simple in woodlands, the outcomes can be well worth the effort.

Children’s playgrounds: Use a playground at a quiet time and your model can have lots of fun on the rides, adding a sense of movement and vitality to your portraits.

One more thing. Don't forget to have fun and enjoy yourself. When you are having fun the person in front of the lens will have fun too!


Note: All the images here are mine. Please be respectful and do not copy or steal them. ;)
If you have questions feel free to message me at missoulaphotoschool@yahoo.com


 photo 8520835606_0607175852_c_zps0de39499.jpg
This is me! Ikon
Hope your day was as good as mine! I teach classes at Salt Lake City School of Photography

                                                      http://saltlakecityphotographyschool.com/

Wednesday, June 20, 2012

Behind-The-Scenes Fashion Photography Tutorial

Great Video! You get to see how a Fashion session goes!


Bufflaoz Photography Triaining: Free online photography tips, tutorials and training.

I you are interested, please follow us on Facebook and Flickr

Friday, February 12, 2010

How to Crop an Image in Photoshop.

Cropping in image can be very important if you plan on printing a photo. What you see in your camera is not what you get when you print a photo. A 5x7 will need a different crop than an 8x10. To help out I have found a video that should be useful.


Sunday, February 7, 2010

Critique #2 for H.B.

Here is another review for HB.
Thanks


Very nice!!!  You framed the photo with blossoms.  Good composition.  The exposure is good too.  This is a good shot!! There's not much else to say!

Sunday, January 31, 2010

Critique for TV


This is a photograph from TV(Her Initials).

Here is my critique on the photograph.

Well Done!!!!!
I really like this shot.  The smile is nice and the pose is good. The only issue I can see is the girl has her wrist bet upward.  I looks a bit awkward. Change that and you have a winner

Good Job TV.  

If anyone else wants to leave a critique for TV, Please leave a comment.

I will be doing more critiques soon.  Thanks:)


Wednesday, November 18, 2009

Excellent Tips. Check this out!!!!

Yes, I know. I have posted a lot of videos. The reason? I am in the middle of a move. So, to not leave you hanging, I am posting videos. They are great videos though, Enjoy.


Sunday, November 15, 2009

An Idea for Christmas

I don't know about you, but I am pretty happy with some of my photos.  My friends and family like them too. So, Why not give a photograph to them for Christmas?  The only problem I have with this is deciding what type of frame to use.  Does it fit with the other frames on the wall?  Is it always best to go with a basic white matte and black frame? Why not make it something different? I found this site online called Fotoflot . This is pretty cool. It solves the dilemma of which frame to use because there is no frame.  Check it out and let me know if you like it.

fotoflot

Tuesday, November 3, 2009

Looking for a new camera?


Things can get pretty confusing when looking for a new camera. There are  a lot of options out there.  You have to decide which system you want. Canon and Nikon rule the roost. Then you have to decide on the lenses you need.  You have to decide what length of lens you want and the quality you want.  Lots of decisions!

Well, here is what I do.  I almost always buy a camera that has been out of a year or so.  For example, I shoot with a Lumix DMC-L1.  I love my camera. It has a Leica lens that is extremely sharp and it's fun to shoot. I get a lot of complements on it also, not that it matters. My camera new would have been over $2,000. I bought it off ebay for less than $700.

So, If you are wanting a new camera, I suggest you buy a camera that is a year or so old.  A great example of a camera that will work great for just about anyone is the Leica D-LUX 1.  This camera has an awesome lens with a zoom from 35 to 420 mm lens( you won't ever need another lens). It has a 10 mega-pixel sensor, and since it is a over a year old you can pick it if for around $800! New is was above $2,000!    Plus you get to shoot with a Leica!  I do need to admit that I am a leica buff so this post might be a little bias, but still, this camera is a steal!


Anyway, look around before you decide which camera to buy and if you have questions let me know. I can give you some advice.
Thanks for visiting my site and don't forget to book mark it.  Also, If you have any questions or comments, I would love to hear them.

Saturday, October 17, 2009

Travel Photography Without Traveling? I'm Serious!

Here's a good idea. You want to get into travel photography but don't have the money or time?  Well, do it from home.  You don't need to travel to sell your photos. Here is an example. I live in Southern Utah. I want to do travel photos but can't afford a trip to Japan (I really would like to take a few weeks off and visit there). But, where I live, there several national parks that are within a hundred mile radius. I could visit Zion's or Bryce Canyon.  You say you don't have any national parks near you?  Photograph your town. Now you say it is too small? Come one. I lived in Malad, Idaho, population under 3000 and I still found tons of stuff to shoot. So, there is no excuse not do travel photography. After you get a few good ones, go out and sell them. You can use the money you get from them to buy more photo equipment.  Have fun and don't forget to bookmark this site and visit often. Thanks and enjoy!

Here are a few of my "local" travel shots.


Thursday, October 1, 2009

When Blur is a Good Thing. Dedicated to Head Bangers.

So, most of the time when a photo is blurred it is a bad thing. Well, would you say I was crazy if I said sometimes blur is a good thing? I knew it, you think I am crazy.  I am a bit, I mean I can act weird sometimes. My wife says....uh well, let's leave it at that.
Anyway, I believe that blur can be very effective if used in the right situation. Sometimes you find yourself thinking, "What am I going to do? I forgot my flash and now my photos won't turn out."
That is what happened the other night. I went to see Korean dancers. I really could have banged my head against the seat in front of me, but then the police would have asked me to leave.  I had forgotten my flash.  Instead I just figured I would make the best out of it. This is what I got:


Not too shabby eh? this was taken at f2.8 at 4 seconds.

Well, next time you get in a situation like I put myself in, don't be a head banger, just have fun and do the best you can.
I would love to hear your comments, leave a few :)

Friday, September 25, 2009

Mystic Forest


I took this photo about 2 years ago.  The fog was pretty thick and it was very pretty. It was taken in Montana, near Missoula. This is one of those shots where I happened to have my camera with me.  I always carry my camera now because you never know if you will miss a good shot. Luckily for me, I had my camera on me that day.

Flashing Yourself! (What?)


Well, here is my first photography lesson for all of you out there.  This lesson will teach you how to get a better protrait with a basic lighting set up.  You can get the equipment to do this for about 100 dollars.  For your info, I get almost all of my equipment from B and H Photo out of New York.  They are great to work with and I recommend checking them out.  Also, check Ebay for great used photo gear. I guess I better explain what a strobe is for those of you who don’t know.  A strobe is simply a flash.  Some cameras have flashes built into the top of them. To take a photo like this you need to have a flash unit that is seperate from the camera body.   For the photo below I use a single strobe (flash unit) on a light stand with a remote trigger unit attached to it.  A remote trigger unit is also know as a slave unit. A remote trigger sets off the flash when light hits it.  When I took this photo I used the small flash that is on the top of my camera to set off  the remote trigger which set off the flash unit and lit me from the side.  The flash unit was about 10 feet from me and the camera was placed on a tripod. I was about 15 feet away from the tripod.  I used a flash meter for this shot, but I have since sold it. I have gotten pretty good at guessing the exposure, but if you have one it will help.  Please feel free to ask questions about this post. I will answer them in a timely manner.  Now it’s time to go out and have some fun.  Thanks for reading! (click on the photos below to see them larger)

10 Tips for Better Photography!


1.Don’t have a tripod?
Set your camera on a bean bag.
2.Shooting in Rain?
To avoid getting your camera wet use a ziplock plastic bag.
3.Want to shoot close-ups but don’t want to spend the money on a new macro lens?
Buy a reversal ring. They cost anywhere from $10 to $30.
4.Do you have old lenses that do not fit on your new camera?
There are adaptor rings out there now that will make it so you can put almost any lens on any camera. I have one that allows me to but a Hasselblad lens on a Canon digital camera (Don’t know what a Hasselblad is? Google it.).
5.Need a reflector for a photo shoot?
Wear a white t-shirt and use yourself as a reflector. Or  aluminum foil on a peice of cardboard works great. A small one can be used to lighten the shadows of a flower.
6.Speaking of flowers, do you have an ugly background behind the flower?  Take a piece of colored paper and place it on the background, or use an 8x10 print of a photo you have taken to liven it up a bit!
7. Do you worry that you are going to scratch up a nice lens when putting it in a back pack or bag?  Wrap it in a sock.
8.Want to create a soft focus look?
Use an old pair of pantyhose over the lens. White will look diffent than black or nude so have fun experimenting.
9. Need some software to edit photos?
Download Picassa 3 for free and start to experiment.
10. Want to become a better photographer?
Be patient, go out and do it, and keep on learning!  You will never get good if you just wish for it :)

My Favorite Place for Family Photos!!!!


You are going to think I am crazy and the truth is that I am a little bit. When it comes to photographing my family, the best place I have found is the kitchen table.  What the? Yes, I am serious and I will tell you why.  It’s easy, and the kids can’t run away. LOL. Seriously, I love to get shots of my fam at the kitchen table. There are always fun photos like kids with pudding or spaghetti all over them. Then they get a little older and they look at you so tenderly.  My daughter is at the stage where she looks and me and says “I love you Daddy”. It melts my heart. Anyway, next time you are sitting down for a good meal at the table, break out your camera and have some fun. Thanks for visiting, don’t forget to bookmark this blog and if you have questions or want to know about something, let me know. Frank, don’t worry. I’m getting ready to do a post for you on which f-stop to use in which situation.

Being a Bad Weather Friend!


Tonight I was out in a rain storm having fun.  A few posts ago I told you that bad weather is your friend.  This is what I got from the storm. Hope you enjoy!Storm over Cedar City Utah

Getting Up Early, Staying up Late and Being a Bad Weather Friend!


Here is the question: when is the best time to shoot?  This is easy for me: morning, evening or when there is a rainstorm or blizzard.  Seriously, I love bad weather.  These photos below were taken in bad weather (snowstorms, thunderstorms, or soon after).  I think the biggest reason that so many photos look boring or bland is because of the time of day that they were taken. Here is a challenge for you. Take a photo at noon, and then go back to the same spot about 30 minutes before the sun goes down and take some more photos. Look at what you have taken and decide for yourself. Good luck and have fun:)
bad weather
badweather3
badweather4
bad weather2

How to Photograph a Real Estate Agent and Get Paid for it!!!!


How many times do we see an ad in a real estate magazine that looks like this:
Real estate agent-  not good
Probably a lot!  Well, here is an idea on how to make a few extra bucks.  Go through the Real Estate guides in your town and mark the agents who need a better shot.  Call them and sell the idea that their photo is kind of like a first impression. Let them know that for so and so $ you can produce a better image for them.  This might help them get more business.  This is what you want their new photograph to look like:
A nice photo of a real estate agent
Much better!
Now, for those of you who are thinking that you can’t do this, I have news for you. It’s easy!
Here is a basic diagram on how do to this.
gsgds copy
What you want to do is:
1.  Find a location where the background is shady but you have a little light to bounce off the reflector.
2.  Have an assistant hold the reflector.
3. Have the subject turn his body slightly toward the reflector, tilt his head a little toward the reflector, and smile.
4. snap away! I always take about 5 shots of each pose. This makes sure you don’t have blinking eyes and also helps the subject relax.
Here is the cool thing. This doesn’t have to be a realtor. this could be a senior or your child, or other family member.  I really could be anyone who wants a portrait.  I suggest that you go and practice a few times before you go out and get paid for it, but seriously, this is easy!  So, grab a guy (or girl) and get out and at least try it!
Remember, have fun and if you have a question, let me know.
P.S. If you don’t have a reflector, get a piece of cardboard and tape some aluminum foil on it or use a white sheet or T-shirt.

Family Photos Without Freakin' out the Kids (Tips on Photographing Children)


This was taken off my old blog. Hope you enjoy!
Almost everyone wants better photos of their families.  So here are a few tips on how to get those shots that only professionals get (not really, anyone can get them!).
1. When you want someone on the other side of the camera to smile, smile!!!!!!  Right now your thinking I am crazy right?  Well, I might be a little but it takes a lot of practice to get to serious crazy.  What I mean is the photographer (you) need to smile at your subject if you want them to smile.
2. The best thing you can do when trying to get you kids to pose for you is to not pose them. Let them do what they usually do.  And don’t get impatient and yell or threaten them. Think about it. Would you be happy if your mom said, "Stop crying or I’m gonna give you something to cry about!" With kids you have to be really patient.  I know. It’s hard not to yell at your kids when it’s so much fun. (kidding again :))
3. This is a great way to get kids' attention.  Do you have a cell phone? When you want a kid to look at the camera, make your cell phone ring!  They always look at it. Make sure it is by the camera when it rings.
4. With digital you can take multiple shots without charging up a huge bill for film and printing. So shoot away. Take a lot of shots. This way when you get a blink or bad expression, you will at least get a lot of  them. Ha Ha. What I meant to say was that you have a better chance of getting a good shot when you take a whole bunch of shots.  You might hit the lottery and get an awsome one.
Now that I have given you some advice, here are a few shots of my fam.
Family shot that don't suck!!
My girl swimming
Superboy
This is the most important thing to remember when shooting family and kids. Have fun. Because if you are not having fun, no one is!
Let me know if you need any clarification on this and thanks for visiting my blog.  Hey, if you like the blog, please bookmark it so you can return often :)

Wednesday, September 23, 2009

First Lesson on How to use Depth of Field


This post is for Frank.
Here is what he wrote:

"Mr Johnson, good stuff here. I found myself taking some notes to take with me the next time I go out to shoot. You make some excellent points and you made me realize some things that I was doing wrong. Filling the frame lesson was actually an “a ha” moment for me.
I learned about your site from “notshootingonauto”. I have just moved from auto mode to aperture priority. Still trying to figure out what fstops to use for what situation but I see you
have outlined some good guidelines.
Pls don’t stop your training, it is helping me bigtime."

Well, here is the answer to help you out. I will be breaking it into a few posts so that it is easier to follow.
I will first tackle the fstop you would use to photograph landscapes. So, you ask, which fstop should I use when photographing a landscape?
I would use f/22 or f/16 in a landscape. In a landscape I usually want everything in the photograph in focus. Using a small aperture will help to acomplish this. If you have questions on depth of field or what depth of field is, please read the post above. I have included a photo (below) that I took for an example of when you should use f/22 or f/16. Also keep in mind that with a small aperture, you will have to use a longer shutter speed. You might need to put your camera on a tripod if your shutter speed is too low. Thanks for visiting my blog and if you have any questions let me know. thanks:)


Monday, September 21, 2009

Fill'er Up Man!!!!


My goal here is to help others become better photographers. What I do is offer free lessons (and you can request a topic) on photography. For the first lesson on this blog I have chosen to talk about filling the frame. I have another blog, http://buffaloz.wordpress.com/ that I do the same thing on. Sometimes the lessons will overlap and I will post the lesson on both blogs. Her is my first lesson on Blogger. I took this photo about 2 years ago and it fits for the lesson so here it goes, my first photo lesson on Blogger. It is really not the best example but I know that you guys who read this stuff are smart and will understand what I am pointing out.
Filling the frame is the name of the game (LOL). Lets first discuss the photo below.
mushroom
As you can see, I did not fill the frame in this photo. A lot of photographers will take a photo of a person and will leave a lot of room at the top and will put the head of the person in the middle of the photo. That is bad. Next time, for a more pleasing result put the head of the person near the top of the frame. Don’t believe me? I dare you. Just try it. Anyway, as you can see there is a lot of dead space at the top of the photo above. Now look at the photograph below.
mushroom the right way
In this photograph I have filled the frame. This is more pleasing to the eye and also draws the eye to the subject. Also, notice how the background is very bright in the first photo? Not good. Usually in a photograph the eye will go to the brightest spot in a photo. I don’t want the eye to look at the background, I want the viewer to look at the mushrooms. So, if you want a good assignment for the next week or so, work on filling the frame. It is best to do it while you are taking the picture. You might need to move in closer to the subject or zoom in, but do it and you will see the difference. I promise. If you do forget to do it while you are taking the shot, then fix it afterwards by cropping the photo. Let me know if you have any questions and good luck :)