Pages

Showing posts with label how to. Show all posts

Wednesday, November 19, 2014

How to find backgrounds that make your images look spectacular!


How to find backgrounds that help your images look spectacular!


Finding excellent back-grounds that complement the subject is an essential part of the process of developing beautiful portraits There are a lot of things to carefully consider in your hunt for the best background.

Do you want your background to be well-defined or possibly blurred?

This is an essential question mainly because the choice determines your entire approach to the portrait shoot.

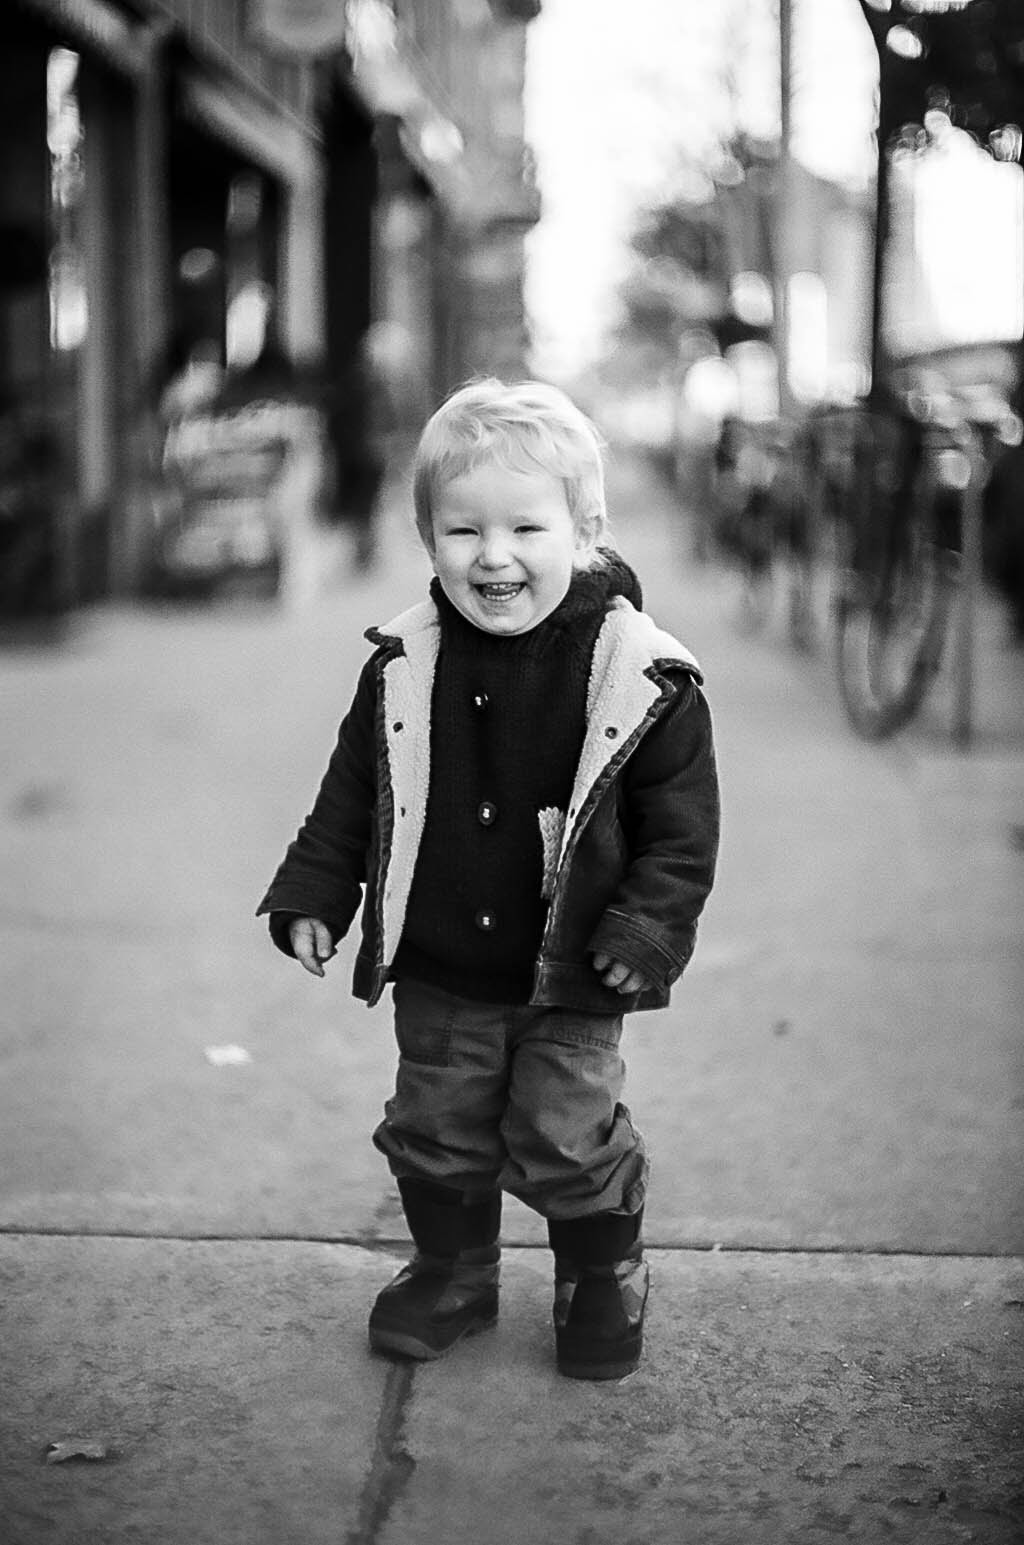
Should you want the background to stay focus, then this suggests that the background is more or less in some way relevant to your subject. Take for instance, if you are making a portrait of a successful musician, then perhaps it would be nice to take a photograph in a location where they continually perform, along with the environment to clearly show the environment.

However, if your goal is simply to obtain a pretty portrait of any individual, then the background might not be so relevant, having said that it must be complementary. A nice example of this is taking a portrait of somebody on a shoreline, where the natural environment becomes a mainstay of the composition.
The simplest way to grab a portrait with the background in focus is by utilizing a wide-angle lens with a smallish aperture (f/8 is ideal for this). You should be careful not to get too close to the individual (avoiding distortion) in order to include lots of background.


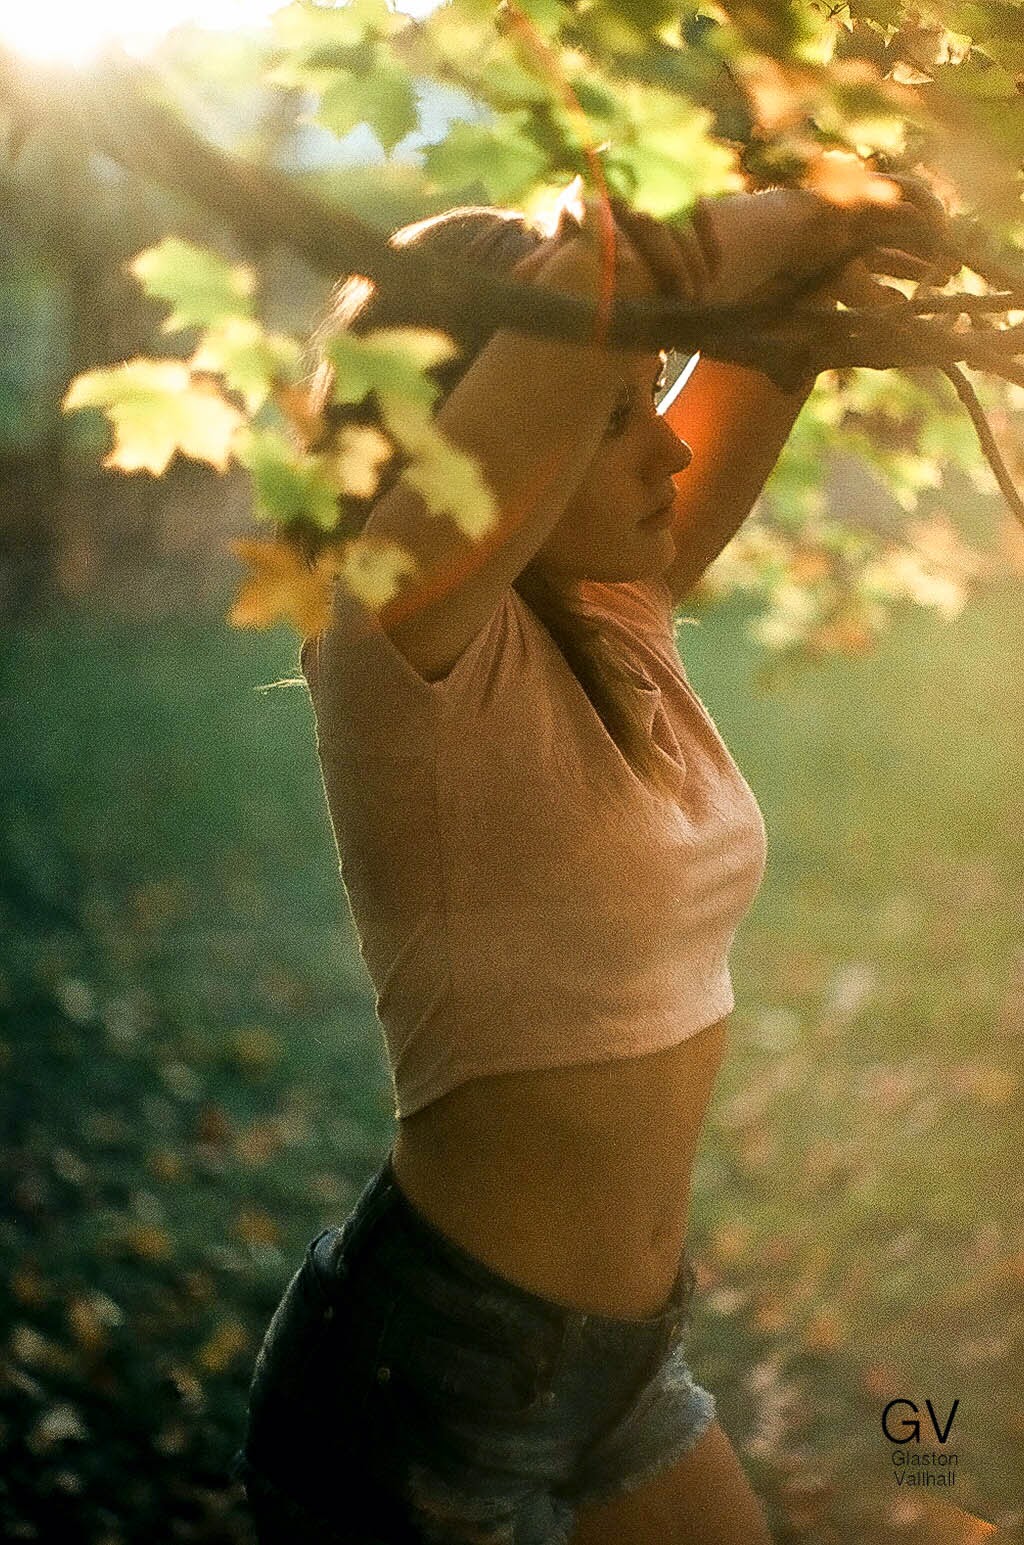
If you want to take photographs with a completely blurred background, then the background itself isn’t extremely important. It will be out of focus, so no one should be able to describe whatever it is. The important thing is that you need to be able to position your model a ways from the background. Then all you have to use is to use a short telephoto lens with a wide aperture, and if the model is far enough from the background it will go out of focus.

This method is most effective with prime lenses because of their wider maximum apertures. But you can certainly still ensure it is do the job, even with an 18-55mm kit lens (which often have maximum aperture settings of f3.5 to /56). You’ll simply need to move the model farther away from the background, and get as close to her as possible (attempt taking a simple head and shoulders shot) to make it work.

Don’t forget there’s a middle ground between these two extremes. You may want to make the background somewhat out of focus, so it is still recognizable although not so sharp it competes with the model for attention.


Are you going to take your photos indoors or outside?

The answer to this query is important since it leads to the question of how you are going to light the photograph.

For instance, inside places can be great for shoots that take place in the winter time, or even at night, if you can’t rely on the weather to be good enough to take photos outdoors. You can utilize your home as a location, another idea would be to keep an eye out for interesting indoor locations in your local area that you may be able to use. Examples are cafes, bars and also hotels. As soon as you’ve found a photogenic location, it’s a quick matter of determining the right person to request authorization to use that location for a shoot.

As soon as you’ve found the location, you should decide how to light the portrait. You might be okay with natural light, particularly if there are actually huge windows or your digital camera works well at higher ISOs. You’ll possibly want an assistant with a reflector to assist.

If you decide to make use of flash to light your portrait, things may be a little more complex. You’ll need room for lighting stands, so you may have to run electrical power cords across the ground. If you intend to use flash, make sure you mention this when you ask authorization to use the location.

If you are gonna have your photos outside then the issue of lighting still applies. Do you intend to use natural light? Once again, an assistant with a reflector may be valuable. If you intend to use are shown to supplement or even overpower the sunlight, you then need to consider if you have sufficient space in your selected area to set them up? Are you going to need someone to help you? Thinking through the practicalities will help your shoot run smoothly.

Background suggestions?

Lastly, here are some of my favorite places for taking portraits. You will find these recommendations useful in your search fantastic backgrounds.

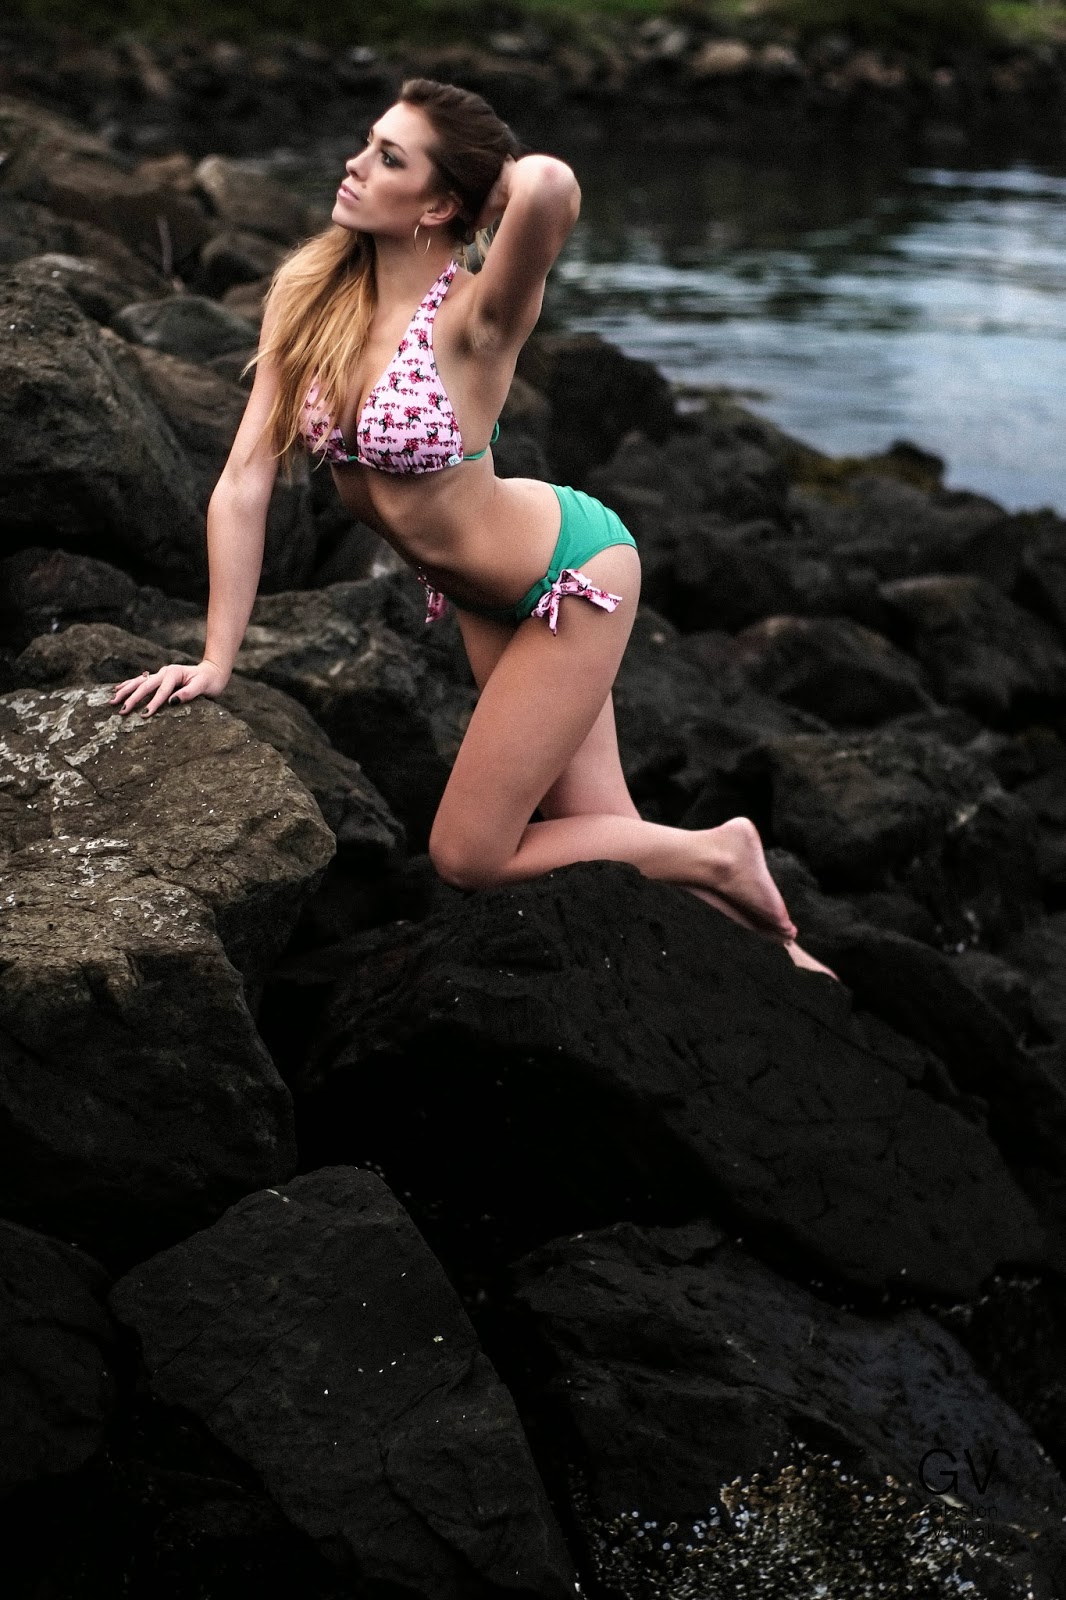
Beaches: I particularly like rocky beaches since rocks render terrific histories. The key to obtaining the best from a beach site is always to take the portraits close to the sunset and also use the beautiful quality of light during the golden hour.

Gardens as well as parks: Public gardens will be an excellent place to take portraits. These are normally quite beautiful and may contain a variety of plants as well as trees and shrubs which you can’t find somewhere else in your area.
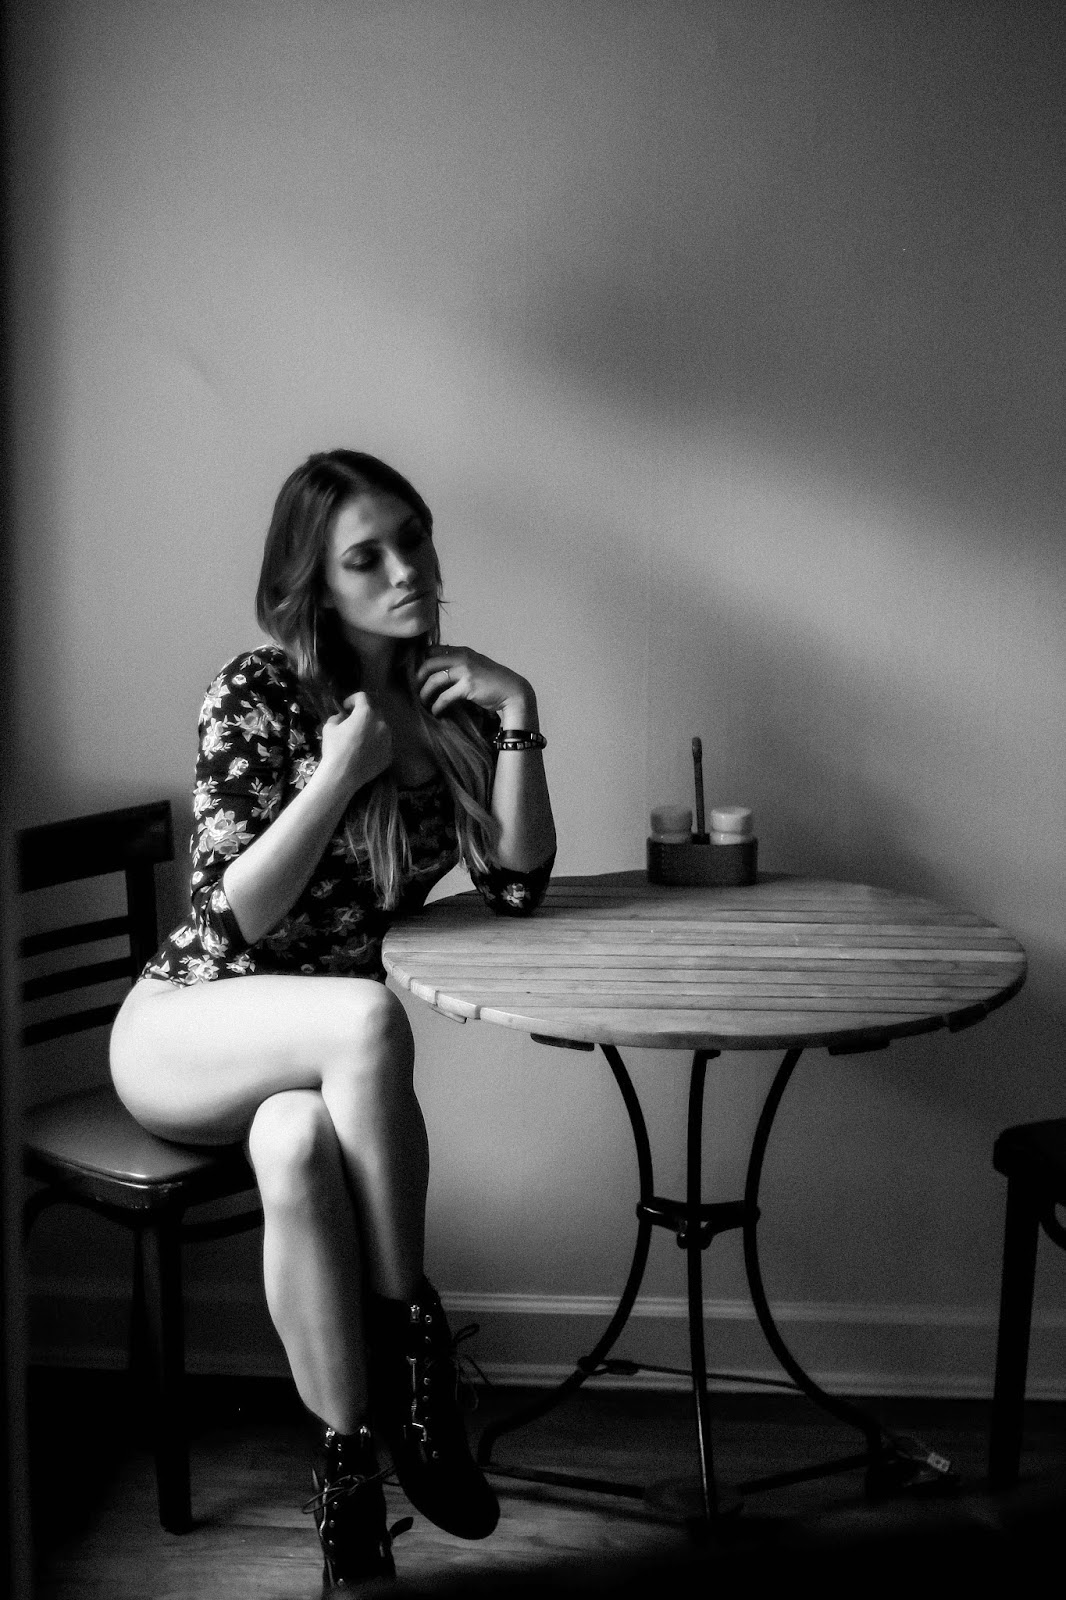
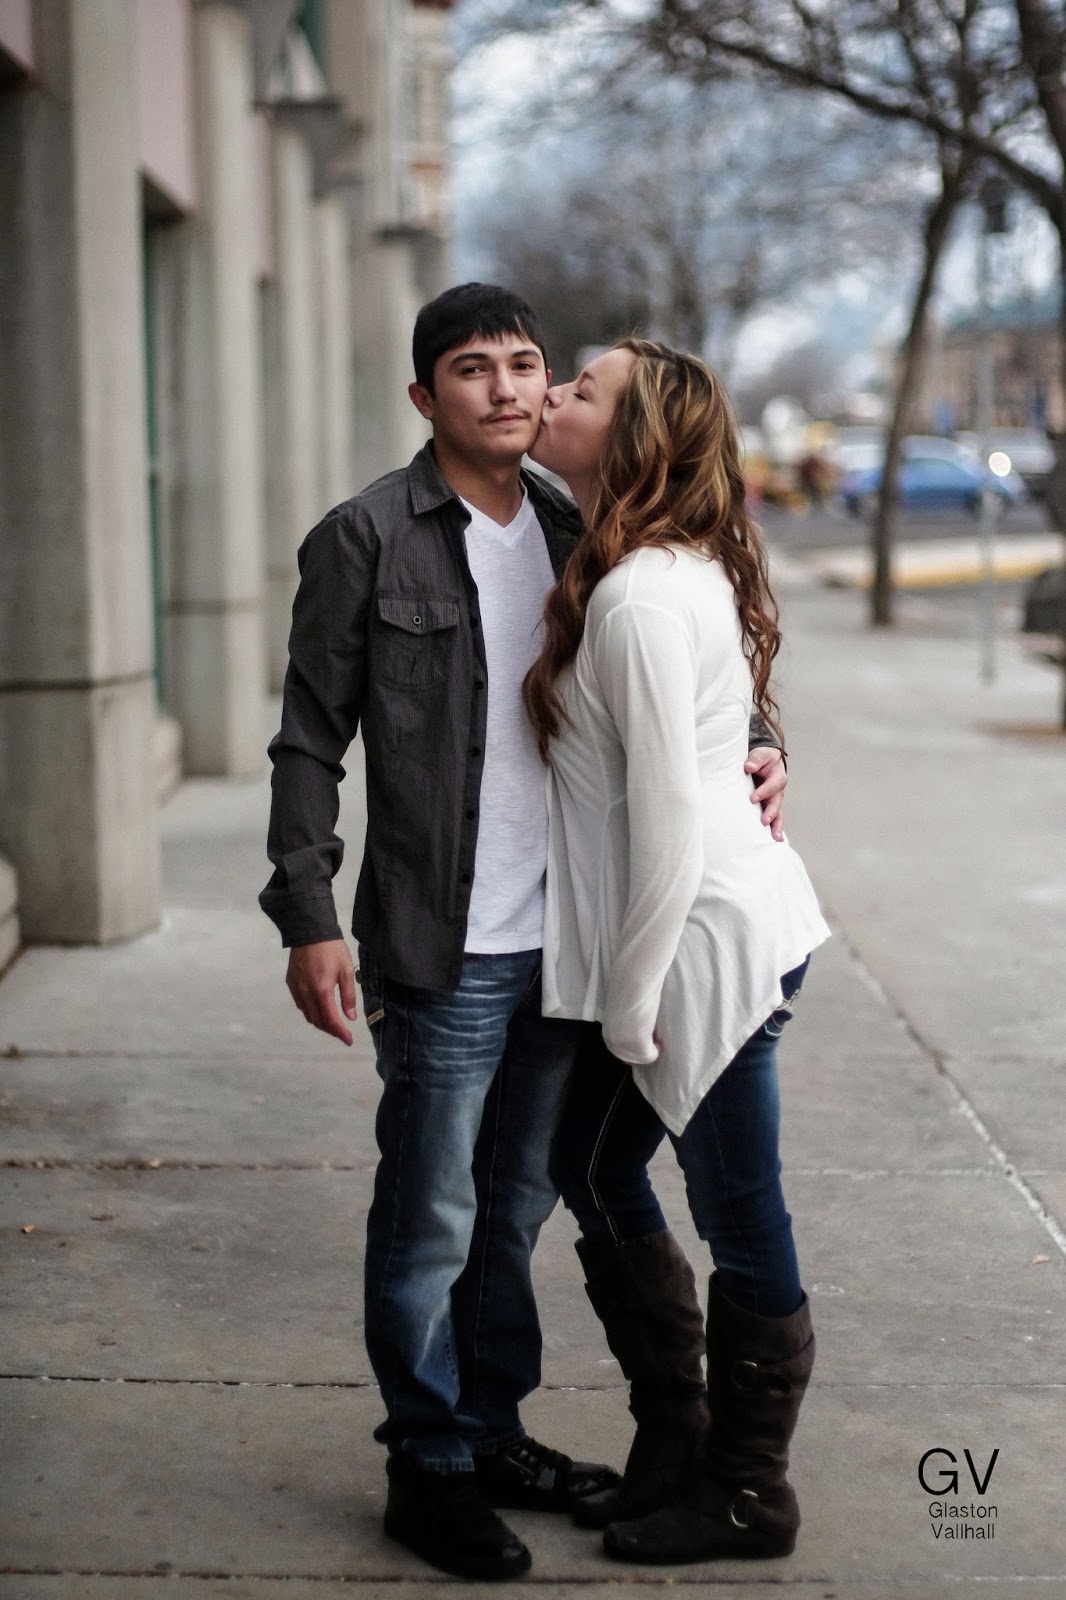
City or urban areas: I love to wander around unique parts of the town I live in with my model looking for good backgrounds. It’s amazing how many situations a wall structure or doorway could make a simple yet effective background for a portrait.


Woodlands: These can be tricky as the light has a tendency to come from above, between the trees, almost like a spotlight. The outcome is harsh shadows under your model’s eyes and nose, even on a gloomy day of the week. The solution is to apply a reflector or even flash to fill in the shadows. While the lighting isn’t always simple in woodlands, the outcomes can be well worth the effort.

Children’s playgrounds: Use a playground at a quiet time and your model can have lots of fun on the rides, adding a sense of movement and vitality to your portraits.

One more thing. Don't forget to have fun and enjoy yourself. When you are having fun the person in front of the lens will have fun too!


Note: All the images here are mine. Please be respectful and do not copy or steal them. ;)
If you have questions feel free to message me at missoulaphotoschool@yahoo.com


 photo 8520835606_0607175852_c_zps0de39499.jpg
This is me! Ikon
Hope your day was as good as mine! I teach classes at Salt Lake City School of Photography

                                                      http://saltlakecityphotographyschool.com/

Sunday, February 3, 2013

Photography Training: How to Choose the Correct Exposure.

Photography Training: How to Choose the Correct Exposure.

Hey should you even worry about the "Correct Exposure"
Who said everything has to be correct? Wait, Don't tell my Mom I said that!
When I was in college studying photography I could never figure out to my satisfaction how to determine the correct exposure. On day after class I asked one of my professors how to get the most correct exposure. His answer surprised me. He said "The correct exposure is up to you". So what did he mean? Well, the correct exposure is the one you choose. Images that are overexposed or underexposed and be correct, or they can be wrong too. Exposure has to be determined on every shot you take and adjusted to get the response you want. You probably think I am crazy right now, right? 
Here is an example of what I mean.  On almost all of my portraits I overexpose by at least 2 stops. If I didn't the people I photograph would have very dark faces and perfectly exposed background. Are you confused? don't worry. Everyone is at this point.
There are 4 things that determine a correct exposure
Exposure consists of four factors:
  1. how much light is in front of you.
  2. how sensitive the film is to light or ISO
  3. the amount of light going through a lens or the Aperture
  4. how long the film is exposed or also called Shutter Speed
The trick is to balance all of these to get the best shot.  Is it safe to say if your photo is too dark it is underexposed or if it is too light it is overexposed. I don't think so.  But that's what you have to decided. Does your image look best if it is lighter or darker. It will determine the mood and feeling of your shot. When I take a shot I think about how it will look after I print it. When it comes to portraits I usually overexpose my subjects. Sometimes I also underexpose my images to get the shot I want. It has to be determined on an individual basis. 

 If you have a camera that has AE or Exposure Compensation fiddle around with it. You can create lots of interesting images by messing around with exposure.

 On one of my film cameras there is no light meter. I guess on the exposure and some of those shots are my most popular images. Most of the shots is way underexposed, but it has the perfect exposure for the look I wanted. 

What I am saying is that when it comes to taking an image with perfect exposure, I usually don't worry about it. Perfect exposed images usually equals a boring image. So have fun and experiment.
Here is a great video and below I have some shots taken with my film camera where I don't use a light meter.

To learn more about digital photography check out this great ebook!
Take your photography to the next level!


missoula photography school photo missoula-photography-school7_zps1fe625dd.jpg

This shot was underexposed quite a bit.


 photo oldboat.jpg
Another underexposed shot.


 photo yellow-00033.jpg
And another underexposed shot!


 photo yellow-00055.jpg
And Another underexposed shot!


missoula photography school photo missoula-photography-school1_zpsc32294fb.jpg

This one is overexposed! Haha, bet you were wondering when that would end!!

If you have questions please leave a comment. I do read everyone and I answer back!

Please let your friends know were here!

Buffaloz Photography Training: Free Online Photography Tips, Tutorials and Training!

Sunday, December 30, 2012

Photography Training: One Tip on How to Take Better Portraits

Photography Training: One Tip on How to Take Better Portraits


This post will help you if you are a beginner or even a professional. 

In the past I have said that it is good to reinvent yourself as a photographer every few years. I even went as far to say that a great example if reinvention is Madonna. Love her or hate her, she was very successful at reinventing herself and that is why is was popular in the 80's, 90's and is still successful after 30 plus years of being a musician. If you can reinvent yourself every few years and you are running a photography business there is a good chance that you won't be out of  business in 10 years from now. I reinvented myself, and  I will do it again and again and again.
One way that I reinvented myself was I made one simple change in how I photograph. I don't always do this but a large portion of my images have this in common. So, you are wondering what I am doing different? I use depth of field to the max!! I must say that I am not the only photographer out there that does this but I have a certain look to my images that sets me apart. Some can look at an image of mine and say, "yep that was shot my Brian".

You might wonder how I do this....?? Well, the main thing I do is I shoot almost all portraits wide open!! What I mean by this is I have lenses that have large apertures. They have apretures like f/1.1 and f/1.4. These apertures allow me to create very shallow Depth of Field. Basically the backgrounds go out of focus. I have invested in lenses that help me get this look. If you buy a camera and it comes with a kit lens you probably can't get this look. So, you really need to invest in some good quality lenses with fast apertures.  
I spent over a thousand dollars on my Voigtlander Nokton 50mm. I got my 85mm f/1.4 for a lot less. It's a Rokinon. The Rokinon is not as sharp as the Nokton, but it does a great job. Next I will get a 35mm f/1.4 Voigtlander and then I am not sure were I will go after that. Anyhow, fast lenses are very important to the look and style that I want my images to have. 
To take advantage of these wonderful lenses I have I need to make sure when I take the picture I have space behind the subject. If you have lenses like mine and you put your subject right up against a wall it kind of defeats the purpose.


If you want to learn more about how to pose people click here and check out this ebook! It's a great resource on how to creatively pose!


These are examples of what I mean.


Photobucket


See how I do not put them up against a wall? I almost always use f/1.4 for the Aperture and adjust the Shutter speed to allow the correct exposure.

Photobucket


Notice the leading lines in the image above? Do you notice the Shallow Depth of Field in this shot also?


Photobucket


Again, I have very shallow depth of field. When you have shallow depth of field it will separate your subject from the background and make the subject stand out. 


Photobucket

Again, this lovely lady stands apart from the background because I used a wide aperture of f/1.4.


If you have questions or need clarification on any of this please leave a comment and will answer you back!!
Thanks! -Brian


Buffaloz Photography Training: One Tip on How to Take Better Portraits 

Free Online Photography Tips, Training and Tutorials

Monday, September 3, 2012

Photography Training: How To Use A Reflector In Outdoor Photography

Photography Training: How To Use A Reflector In Outdoor Photography

Great Video on how to use a reflector when shooting portriats!  The funny thing is you don't need a professional reflector. In a pinch, I've used a white T-shirt and a newspaper!!

\


Buffaloz Photography Training: Free Online Photography Tips, Tutorials, and Training